Android
Also see the documentation of the android module in our Rust API documentation.
Project Setup
Section titled “Project Setup”Slint uses the android-activity crate ↗ as the interface to
the operating system, which is re-exported as slint::android::android_activity. To get started, follow these steps:
First, your project needs to be a library crate. Add the following to your Cargo.toml:
[lib]crate_type = ["cdylib"]You also need to select the version of android-activity you want to use:
[dependencies]slint = { version = "1.15.0", features = ["backend-android-activity-06"] }This feature compiles with any target_os and can safely be enabled anywhere.
Second, in your lib.rs, add this function:
#[cfg(target_os = "android")]#[unsafe(no_mangle)]fn android_main(app: slint::android::AndroidApp) { slint::android::init(app).unwrap(); let main_window = ...; // window generated by the Slint macros main_window.run().unwrap();}You can also add an Android event
(android_activity::PollEvent ↗)
listener by replacing the call to slint::android::init with slint::android::init_with_event_listener.
That’s all of the necessary code changes. In the next section, we’re going to set up the environment to build the project.
Android Setup
Section titled “Android Setup”The Android development workflow centers around the adb command line tool. Use it to connect to
Android devices and emulators to upload and run applications (and do other things not relevant here).
The easiest way to install the Android development environment is to download and install Android Studio ↗. In the settings pane, navigate to the Android SDK page and install all SDK versions you need. We recommend to use the latest version available, because it can be configured to be backwards-compatible with older versions of Android. This manager is available in the settings in “Languages & Frameworks” > “Android SDK”.
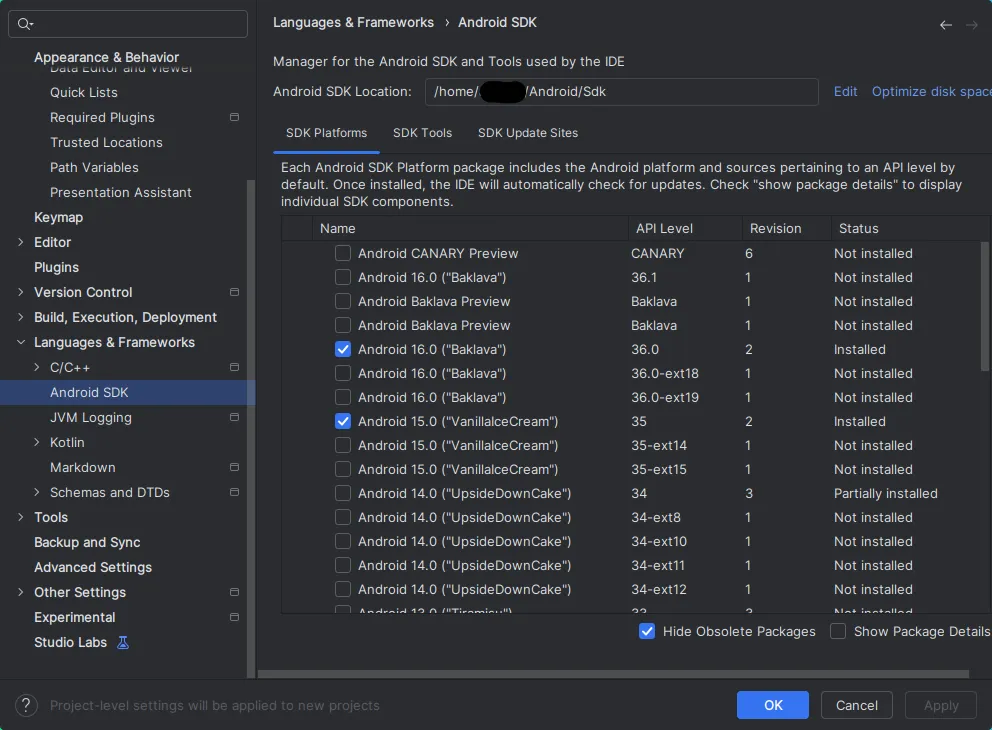
Also note the SDK location on top, this path might have to be used for the ANDROID_HOME environment
variable if the build tools can’t detect it automatically.
Add the platform-tools directory to your PATH so that the adb tool is available on the command
line.
To get the list of Android devices, simulators and emulators currently attached to your machine, run
adb devicesYou can connect to a physical device on the network by using
adb connect <host>The host is the IP address of the device. Note that it has to have development mode enabled for
this.
Virtual Device Setup
Section titled “Virtual Device Setup”We recommend developing using a virtual device first, because it speeds up the development cycle. However, eventually you have to also test on a device to make sure that the interface is usable on a touch screen and to check if all text is large enough, etc.
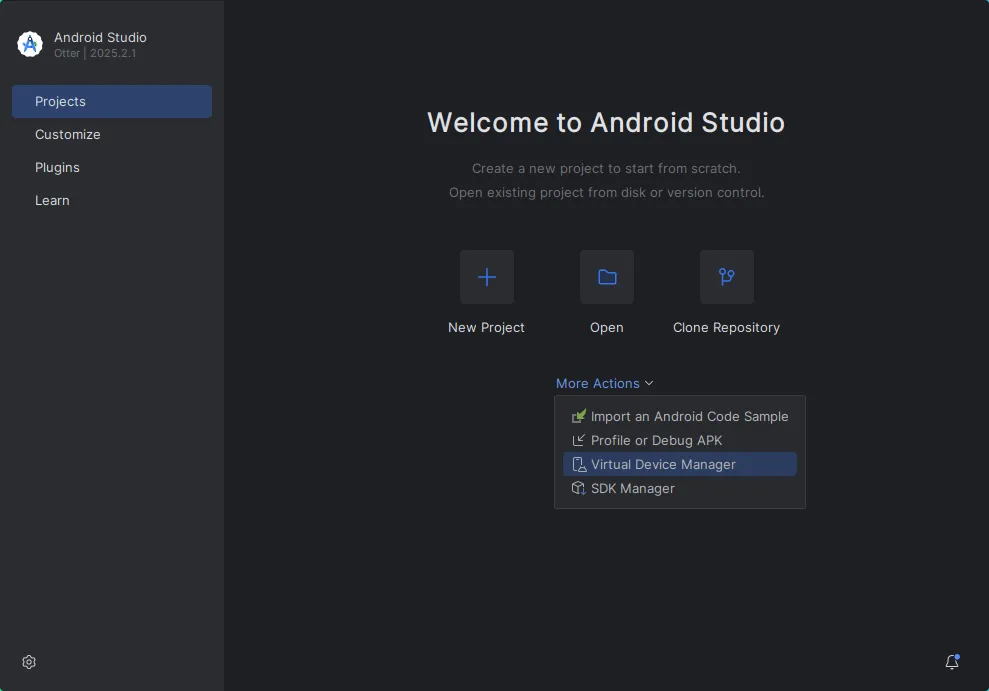
To create and run a virtual device, use the Virtual Device Manager available in Android Studio. You can open it from its main screen under “More Actions”:
You can create any number of devices with different configurations here:
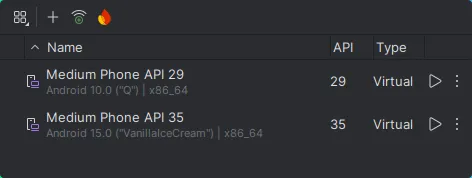
A good approach is to have one device with the minimum API level supported by your application and another one with the latest release to make sure it runs on both.
Running virtual devices connect to adb automatically.
Virtual Keyboard
Section titled “Virtual Keyboard”Note that depending on the device template you pick, the virtual devices created here might use a hardware keyboard by default, which is not helpful for testing your application. Unfortunately, we were unable to locate a way to disable it in the Virtual Device Manager directly.
To fix this, click on the three vertical dots next to the device in the manager to open up the menu
and select “Show on disk”. In the directory that now opens, open the file config.ini in your
favorite text editor. Navigate to the line hw.keyboard=yes and change it to hw.keyboard=no, then
save the file.
The next challenge is that there is still no keyboard:
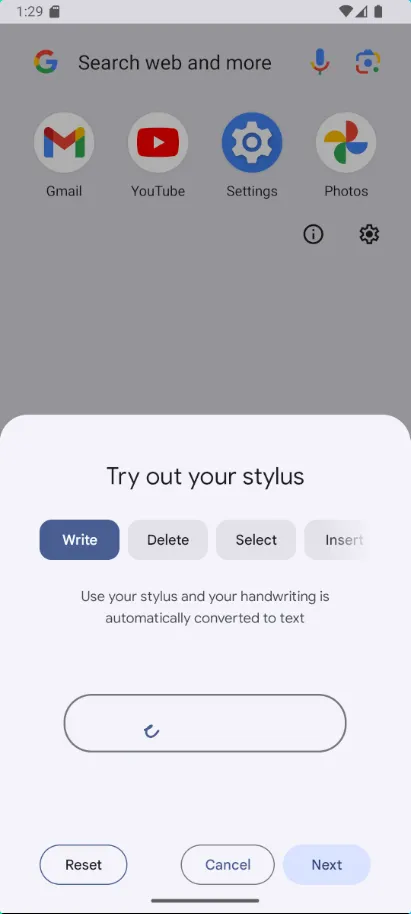
Disable the stylus input in the keyboard settings:
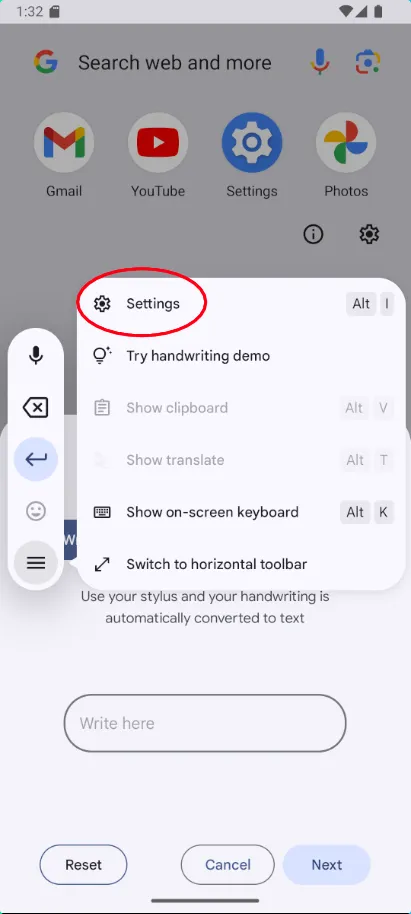
Select “Write in textfields” in the list and then disable that feature. This enables the regular virtual keyboard.
Running the Application
Section titled “Running the Application”There are multiple ways to build, upload and run Android apps written in Rust. This page describes a way using xbuild ↗. This doesn’t use Android Studio at all.
At the time of this writing, the current version of xbuild (0.2.0) is severely outdated and contains
relevant bugs that have been fixed in the master branch. So, don’t use cargo install xbuild to
install it, use the git version instead:
cargo install --git https://github.com/rust-mobile/xbuild.gitThe command line tool for xbuild is simply called x. For example, to get a list of devices connected,
use
x devicesNote that unlike adb above, this tool also supports iOS devices and simulators. However, for Android
devices it simply talks to adb, so if you connect a device using that tool, it will also show up here.
To build your project, navigate to the directory containing your Cargo.toml and run
x run --device <id>Where <id> is shown in x devices as the leftmost column and is something like adb:emulator-1234
for virtual Android devices.
This should build your project, upload it to the device and run it. The target platform is detected automatically.
To recompile and test changes, press ctrl-c and run the same command again. The running version on the device is replaced automatically.
Troubleshooting
Section titled “Troubleshooting”If x run doesn’t work, run x doctor to check if you have all required tools installed and that
they’re found by xbuild.
Building
Section titled “Building”There are many ways to distribute Android applications and xbuild supports all of them via x build.
To get information about the configuration, use x build --help.
For example, to build an .apk file, use something like
x build --platform android --arch arm64 --format apk --releaseThe apk is then located in target/x/release/android/<name>.apk.
© 2026 SixtyFPS GmbH